Cable management is crucial in any electrical installation, whether in an industrial setting or a residential environment. Vented cable trays are a popular choice due to their ability to support and protect cables while allowing heat dissipation. However, modifying these trays to fit specific spaces often requires cutting. This guide will walk you through the process of cutting a vented cable tray horizontally, ensuring a perfect fit every time.
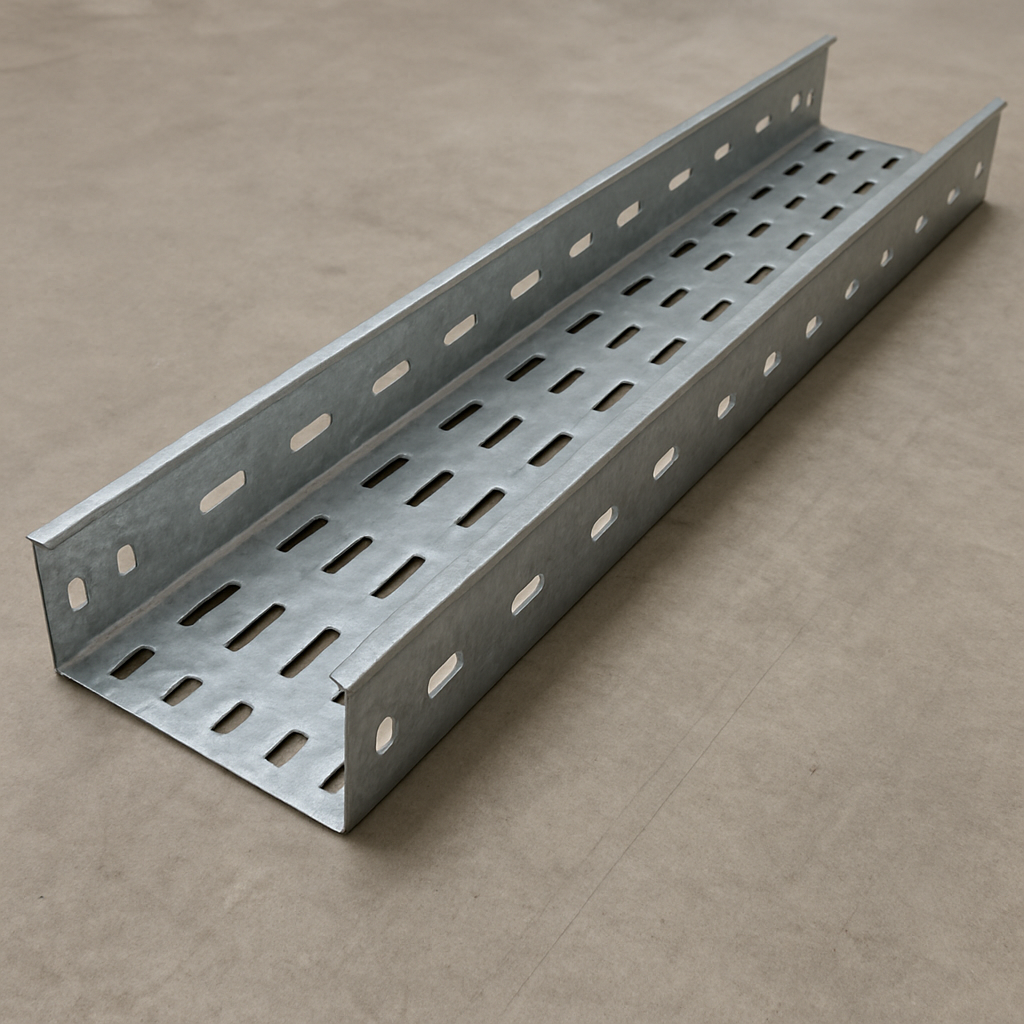
Vented cable trays are designed with slots or perforations along their length. These trays provide excellent airflow around cables, reducing the risk of overheating. They are often used in environments where heat dissipation is essential, such as data centers or industrial facilities.
Why Cutting Is Necessary
Cable tray systems often need to be modified on-site to fit specific dimensions or to navigate around obstacles. Horizontal cutting is particularly common when trays need to be shortened to fit between walls or other structures.
Tools Required for Cutting Vented Cable Trays
Before starting the cutting process, gather the necessary tools to ensure a smooth and safe operation. Here’s a list of what you’ll need:
- Measuring Tape: To measure the exact length you need.
- Marker or Pencil: For marking the cutting line.
- Protective Gear: Safety goggles and gloves to protect against metal shards.
- Hacksaw or Angle Grinder: The primary tools for cutting through the metal.
- Clamps: To secure the cable tray while cutting.
- File or Sandpaper: For smoothing the cut edges.
Step-by-Step Guide to Cutting Vented Cable Trays
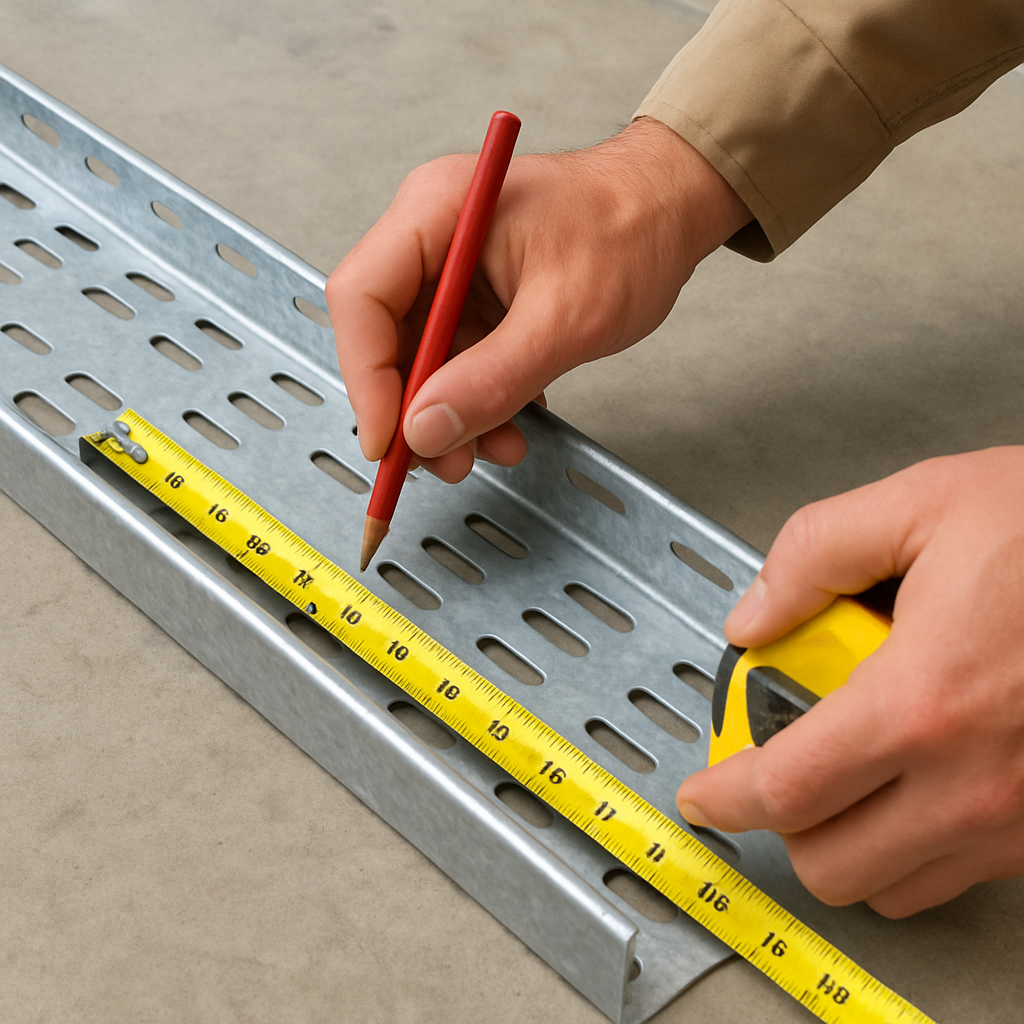
Step 1: Measure and Mark the Cutting Line
Start by measuring the length of the cable tray you need to cut. Use a measuring tape to determine the correct length, and mark it clearly with a marker or pencil. Ensure that your marks are straight and even across the width of the tray.
Step 2: Secure the Cable Tray
Place the cable tray on a stable work surface. Use clamps to secure it firmly in place. Este prevents movement during cutting, allowing for a more precise cut and reducing the risk of injury.
Step 3: Choose the Right Cutting Tool
For cutting vented cable trays, you can use either a hacksaw or an angle grinder. A hacksaw provides more control and is suitable for smaller, less frequent cuts. An angle grinder, on the other hand, is faster and ideal for larger projects or thicker trays.
Using a Hacksaw
- Position the hacksaw blade on the marked line.
- Apply steady pressure and use long, even strokes.
- Be patient and let the saw do the work; forcing it can cause jagged edges.
Using an Angle Grinder
- Equip the grinder with a metal-cutting disc.
- Position the disc on the marked line.
- Please turn on the grinder and guide it steadily along the line.
- Keep a firm grip and control the speed to avoid damaging the tray.
Step 4: Smooth the Edges
After cutting the tray, use a metal file or sandpaper to smooth any rough or sharp edges. This step is crucial to prevent injuries and ensure a professional finish.
Step 5: Installation
With your cable tray cut to size and smoothed, it’s ready for installation. Follow standard procedures for mounting and securing the tray, ensuring it is level and supported adequately.
Tips for Successful Cable Tray Cutting
- Double-Check Measurements: Measure twice, cut once. Ensuring your measurements are accurate will save time and materials.
- Use Protective Gear: Always wear safety goggles and gloves to protect against metal shards and sparks.
- Maintain Cutting Tools: Keep your hacksaw blades and grinder discs sharp for cleaner cuts.
- Plan the Layout: Before cutting, plan the entire layout of your cable tray system to minimize the number of cuts needed.
Common Challenges and Solutions
Uneven Cuts
If your cuts are uneven, it may be due to improper tool handling or movement during cutting. Ensure the tray is clamped securely and practice maintaining a steady hand.
Burrs and Sharp Edges
These can occur with any metal cutting. Always smooth the edges with a file or sandpaper after cutting to prevent injuries and improve aesthetics.
Conclusión
Cutting vented cable trays horizontally is a manageable task with the right tools and preparation. By following these steps, you can ensure a precise cut that fits your installation needs perfectly. Remember to prioritize safety and accuracy for the best results.
Implementing these cable management solutions not only optimizes your electrical systems but also enhances safety and efficiency. Whether you’re a professional installer or a DIY enthusiast, mastering the art of cutting cable trays will serve you well in various projects. Happy cutting!


