Efficient cable management is crucial in modern infrastructure projects, ensuring not only the protection of cables but also maintaining an organized setup. One key aspect of cable management is the proper installation and offsetting of ladder cable trays. Here’s a comprehensive guide on how to offset ladder cable trays for optimal cable management solutions.
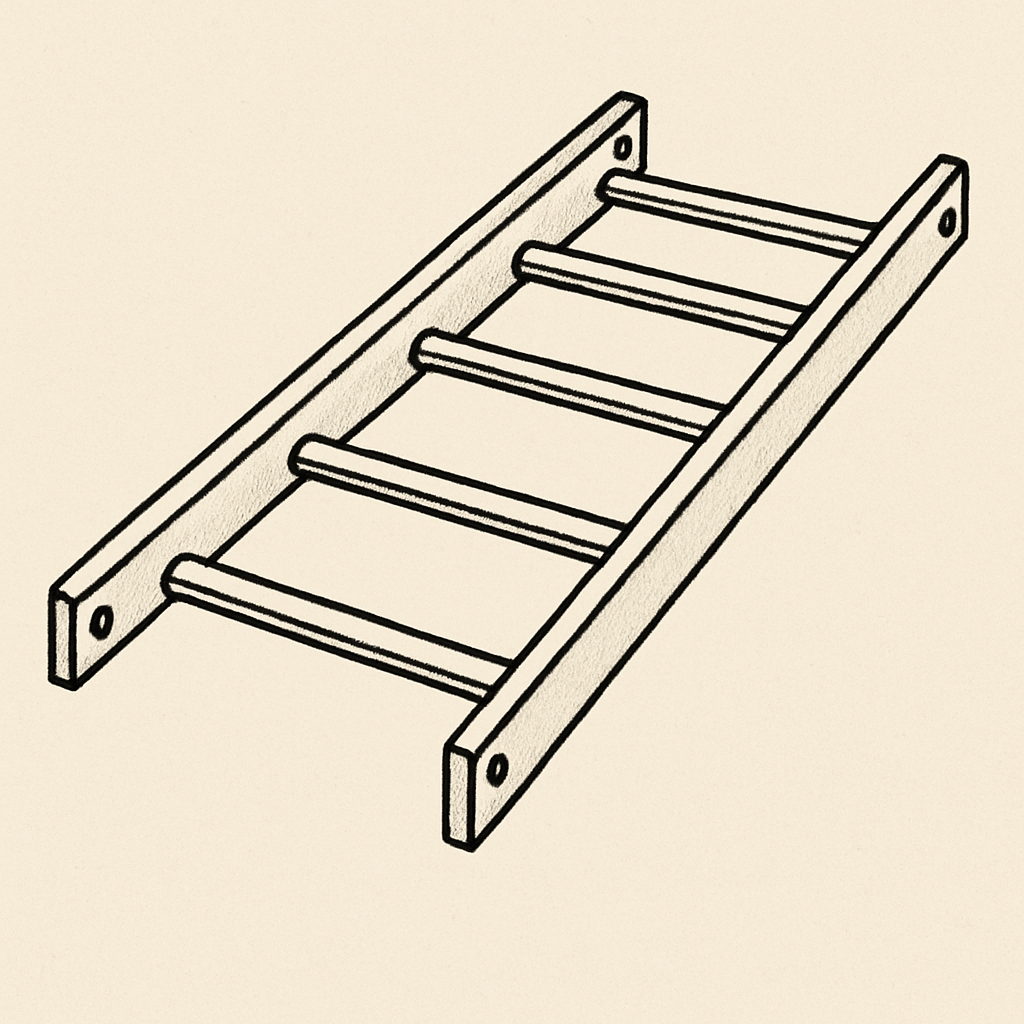
Offsetting a bandeja portacables de escalera involves creating a change in direction or elevation to accommodate architectural or structural obstacles. This is essential for maintaining a streamlined cable routing system while avoiding potential hazards.
Key Components for Offsetting
Cable Tray Bends and Fittings
The primary components used in offsetting ladder cable trays include cable tray bends and ladder tray offset fittings. These components allow for smooth transitions and are crucial for precise cable tray alignment.
Cable Tray Connection Method
A robust cable tray connection method ensures that all parts remain securely attached during and after installation. It’s important to choose the right type of connectors based on the material and size of your tray system.
Step-by-Step Guide to Offset Ladder Cable Tray
Step 1: Planning the Route
Before beginning the installation, plan the cable tray route. Identify where offsets are necessary, taking into account any architectural obstructions. Use this planning phase to select the appropriate cable tray bends and fittings.
Step 2: Selecting the Right Tools and Materials
Gather the necessary tools and materials, such as ladders, measuring tape, offset fittings, and connectors. Having the right tools on hand ensures a smoother installation process.
Step 3: Installing the Ladder Cable Tray
Start by installing the primary sections of the ladder cable tray. Ensure that each section is level and securely connected using the appropriate cable tray connection method. This step is crucial for maintaining the integrity of the entire system.
Step 4: Implementing the Offsets
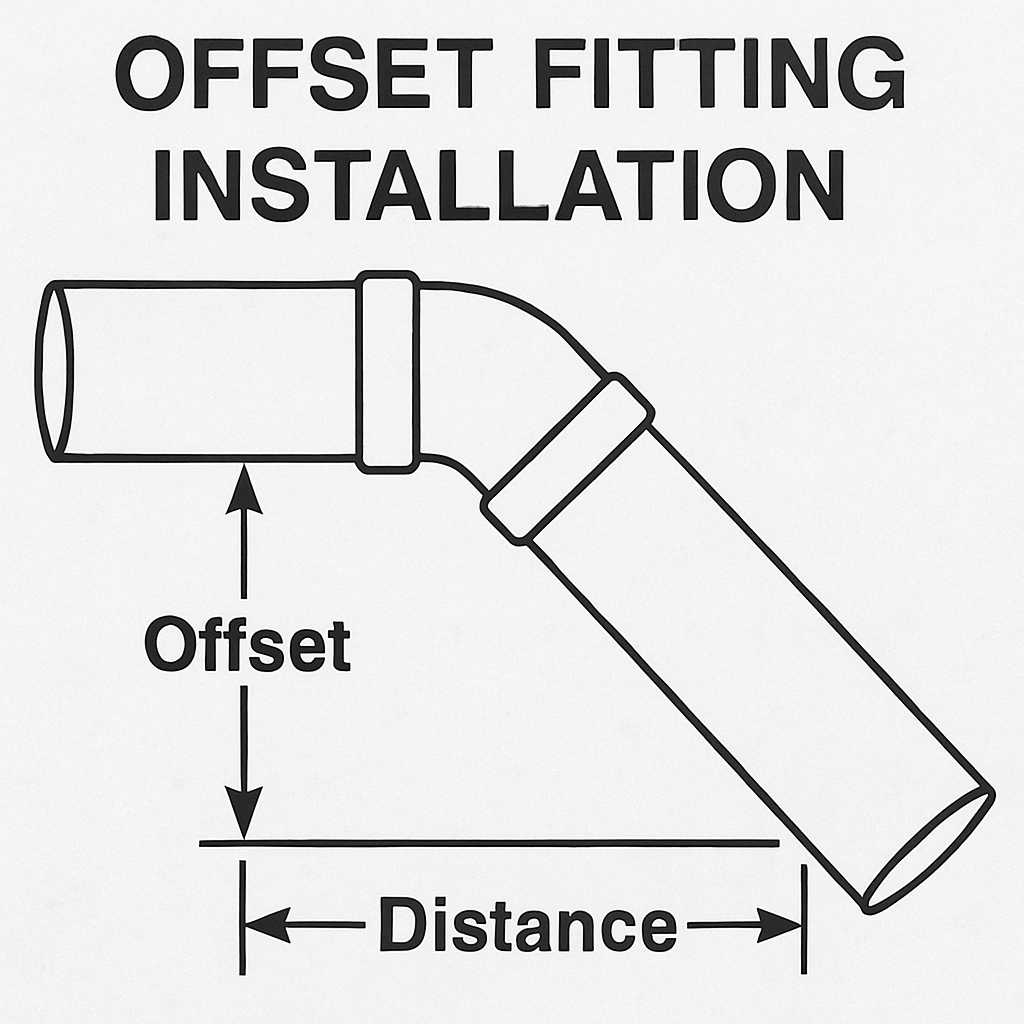
Once the main sections are in place, begin implementing the offsets. Use the selected ladder tray offset fittings to change direction or elevation as needed. Carefully measure and adjust to ensure the trays remain aligned.
Step 5: Securing and Testing the Installation
After completing the offsets, double-check all connections to ensure they are secure. Conduct a thorough inspection to confirm that the installation meets safety and operational standards.
Best Practices for Ladder Tray Adjustment
- Regular Inspections: Routine checks help identify any misalignments or loose connections, preventing potential hazards.
- Documentation: Keep detailed records of the installation process, including the types of materials and fittings used.
- Professional Assistance: When in doubt, consult with a professional to ensure the installation is up to code and functions efficiently.
By following these steps and best practices, you can achieve an effective offset ladder cable tray installation, ensuring a safe and organized cable management system. Whether dealing with new installations or retrofitting existing systems, understanding and implementing proper offset techniques is key to success.