Installing a vertical cable tray is an essential part of creating an organized and efficient cable management system. Whether you’re managing cables for a new office setup or upgrading an existing system, understanding the process of installing a vertical cable tray can make your job easier and more effective. Here’s a step-by-step guide to help you navigate the installation process efficiently.
Vertical cable trays are designed to route and support cables along vertical surfaces. They are commonly used in environments where cables need to be managed in a systematic and organized manner, such as in data centers, industrial settings, and office buildings. These trays not only provide an efficient way to manage cables but also offer protection and support.
Preparing for Installation
Before you begin the installation of a vertical cable tray, it is crucial to plan and prepare your workspace. Follow these steps for a smooth installation process:
- Assess Your Needs: Determine the number of cables and the type of cables you plan to route. This will help you choose the right size and type of cable tray.
- Gather Tools and Materials: You’ll need tools such as a drill, screwdriver, measuring tape, and the necessary mounting hardware. Make sure you have all components of the cable tray system, including trays, supports, and brackets.
- Plan the Route: Decide on the path your cables will take and ensure that it aligns with your layout. This will help you avoid unnecessary twists and turns, which can complicate cable management.
Installing the Cable Tray
Step 1: Mark the Path
Begin by marking the path where the cable tray will be installed. Use a measuring tape and level to ensure that the path is straight and aligns with your planned route.
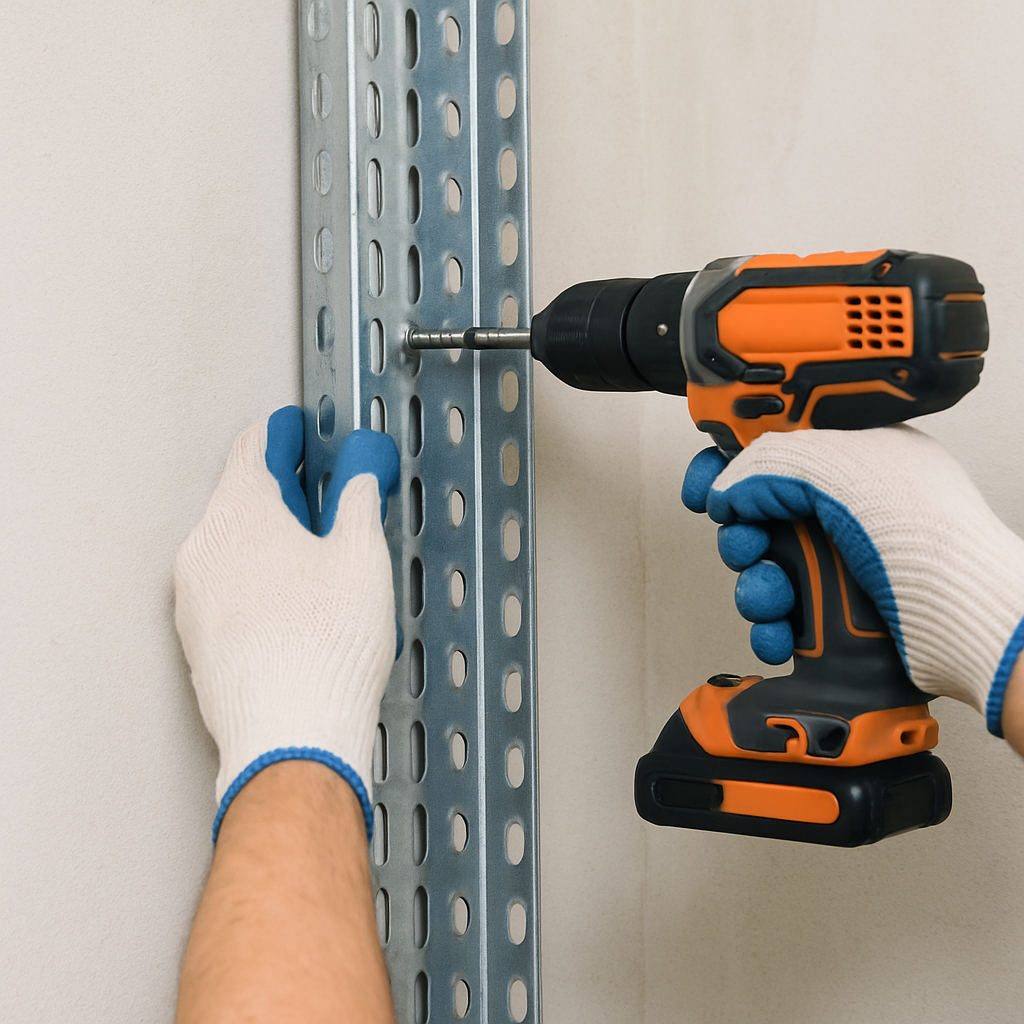
Step 2: Install Supports
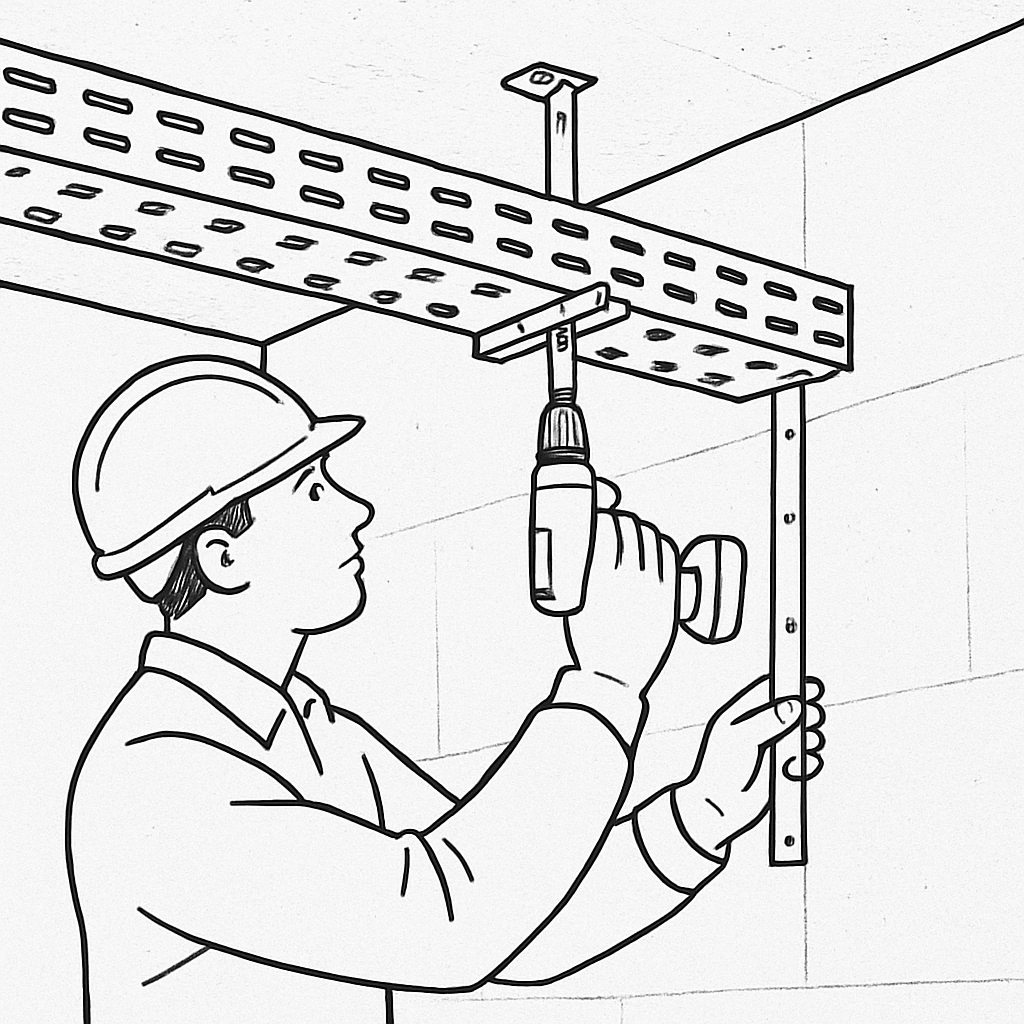
Install the supports at regular intervals along the marked path. These supports will bear the weight of the cable tray and the cables. Ensure that the supports are securely fastened to the wall or structure.
Step 3: Attach the Tray
Once the supports are in place, attach the ladder-type cable tray to the supports using the appropriate brackets or mounting hardware. Make sure the tray is level and securely fastened to the supports.
Step 4: Route the Cables
Carefully route the cables through the installed vertical cable tray. Ensure that cables are neatly organized and separated, if necessary, to prevent interference and facilitate future maintenance.
Step 5: Secure the Cables
To prevent cables from shifting or sagging, use cable ties or other securing methods to fasten the wires within the tray. This will help maintain a tidy and efficient cable management system.
Reflexiones finales
Installing a vertical cable tray can significantly enhance the organization and efficiency of your cable management solutions. By following this guide, you can ensure a smooth installation process, resulting in a clean and professional setup. Remember, well-managed cables not only improve functionality but also enhance the safety and reliability of your electrical systems.