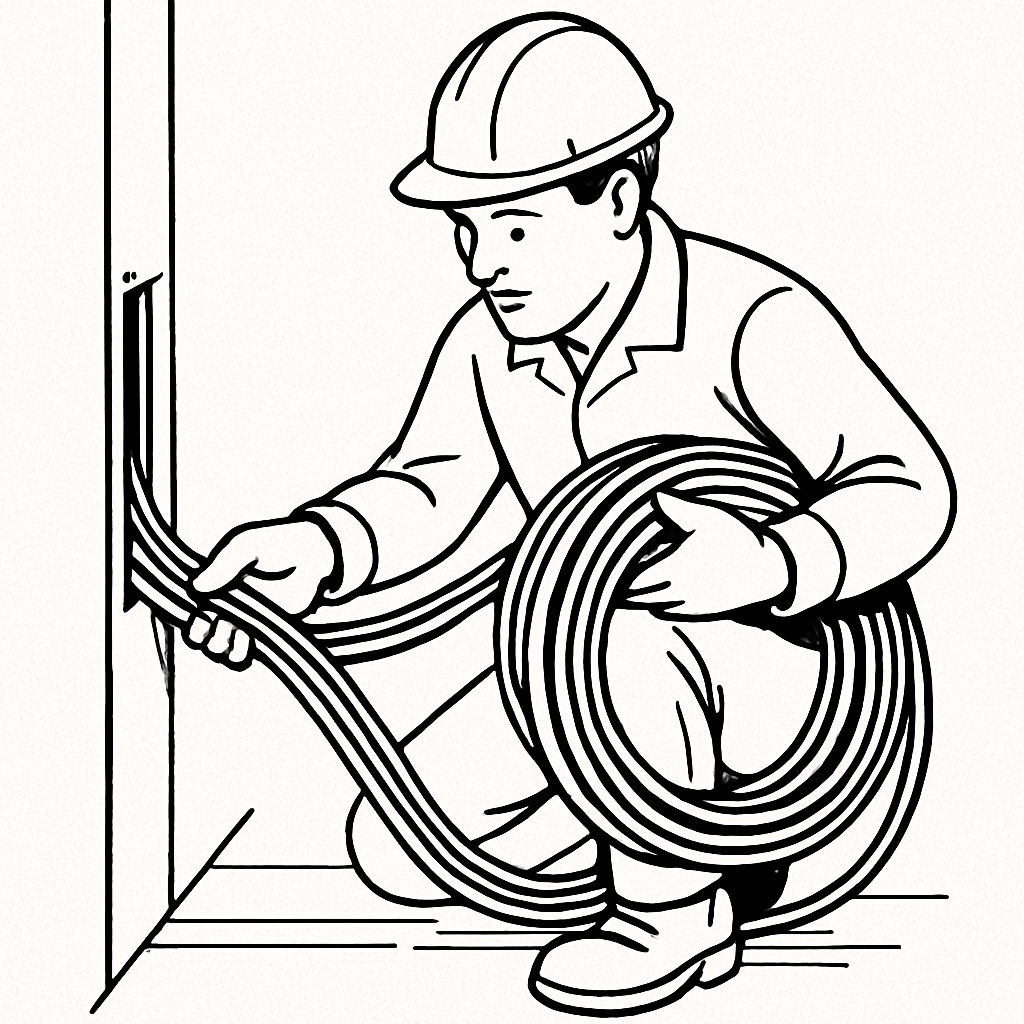
In today’s fast-paced world, effective cable management is crucial for maintaining a safe and organized workspace. One of the most reliable solutions for cable management is the welded wire mesh cable tray. However, to ensure optimal performance and safety, understanding the installation process and the role of cable tray clamps is essential. This guide will walk you through the installation of welded wire mesh cable trays and the importance of proper clamp usage.
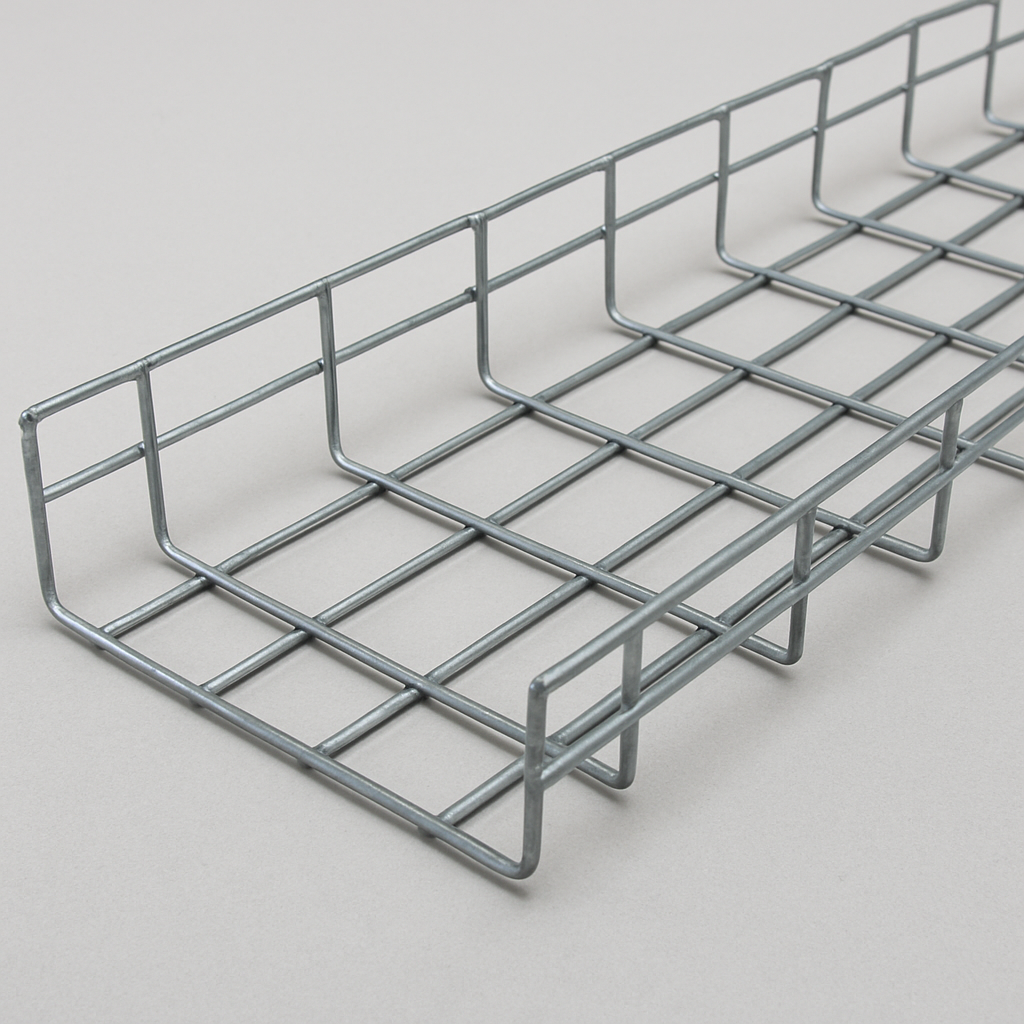
Wire mesh cable trays offer a versatile and effective solution for routing and supporting cables in various environments. Their open design allows for excellent ventilation, reducing heat build-up around cables. Before diving into the installation process, it’s important to gather all necessary components and tools.
Essential Cable Tray Accessories
Before starting your installation, ensure you have the following cable tray accessories:
- Cable Management Clamps: These are used to secure cables within the tray, preventing movement and ensuring a tidy arrangement.
- Cable Tray Hardware: Includes nuts, bolts, and washers required for assembling and securing the cable tray sections.
- Ce Certification Plastic Wire Mesh Cable Tray: If your installation requires CE certification, ensure your materials meet the necessary standards.
Tools You’ll Need
To successfully install a wire mesh cable tray system, you’ll need:
- A drill and drill bits
- A wrench set
- A screwdriver
- A measuring tape
- A level
How to Install Wire Mesh Cable Tray
The installation process for wire mesh cable trays is straightforward but requires careful attention to detail to ensure safety and effectiveness. Here’s a step-by-step guide:
Step 1: Planning the Layout
Begin by planning the layout of your cable tray system. Consider the path of the cables, the weight they will carry, and any obstacles they might need to bypass. Este will help you determine the amount of material needed and any specific accessories required.
Step 2: Assembling the Tray Sections
Wire mesh cable trays come in sections that need to be assembled. Connect these sections using the appropriate cable tray hardware, ensuring all joints are secure. Use your level to confirm the sections are even, which will help prevent cable damage.
Step 3: Securing the Tray
Once your sections are assembled, it’s time to secure the tray to the supporting structure. Use the drill to create holes for the bolts, then attach the tray using your wrench to tighten the hardware. Ensure the tray is firmly in place to avoid any movement.
Step 4: Installing Cable Management Clamps
Gestión de cables clamps are crucial for maintaining order within the tray. Install these clamps at regular intervals along the tray, securing the cables in place. Este prevents cables from shifting, which could lead to wear or damage.
Step 5: Final Checks
After installation, perform a thorough check of the entire system. Ensure all hardware is tight, cables are secure, and there are no sharp edges or protrusions that could damage the cables.
The Role of Welded Wire Mesh Cable Tray Clamp Down
The welded wire mesh cable tray clamp-down plays a vital role in maintaining the integrity and safety of the cable management system. Here’s why it’s important:
Stability and Security
Cable clamps provide stability to the cables within the tray, preventing them from moving or sagging. Este not only keeps the installation neat but also prolongs the lifespan of the cables by reducing stress and potential damage.
Seguridad y conformidad
Using the correct clamps ensures your installation complies with safety standards, such as CE certification for certain plastic wire mesh cable trays. Este is crucial for both legal compliance and the safety of personnel.
Versatilidad
Clamps are available in various materials and designs, allowing you to choose the best option for your specific needs, whether it’s for indoor, outdoor, or industrial environments.
How Long Does It Take to Install Wire Mesh Cable Tray?
The time required to install a wire mesh cable tray system depends on several factors, including the size of the installation, the complexity of the layout, and the skill level of the installers. On average, a standard installation might take anywhere from a few hours to a full day.
Tips for Efficient Wire Mesh Cable Tray Installation
To ensure a smooth installation process, consider the following tips:
- Pre-assemble components: Whenever possible, assemble tray sections on the ground before lifting them into place. Este saves time and reduces the risk of errors.
- Work with a partner: Having an extra pair of hands can speed up the process and improve safety.
- Double-check measurements: Measure twice, cut once. Ensuring your measurements are accurate can prevent costly mistakes.
Conclusión
Proper installation of a welded wire mesh cable tray system is crucial for effective cable management. By understanding the installation process and the importance of using the right clamps, you can ensure a safe, efficient, and compliant system. Whether you’re a seasoned professional or new to cable management, following these guidelines will help you achieve the best results for your workspace.
Remember, investing time in careful planning and execution will pay off in the long run with a robust and reliable cable management system.