When it comes to installing cable trays, understanding the proper support spacing is crucial. Correct installation not only ensures safety but also enhances the efficiency of your electrical system. Whether you’re working with perforated, ladder, or wire mesh cable trays, there are specific guidelines you need to follow to meet the National Electrical Code (NEC) requirements.
Understanding Cable Tray Systems
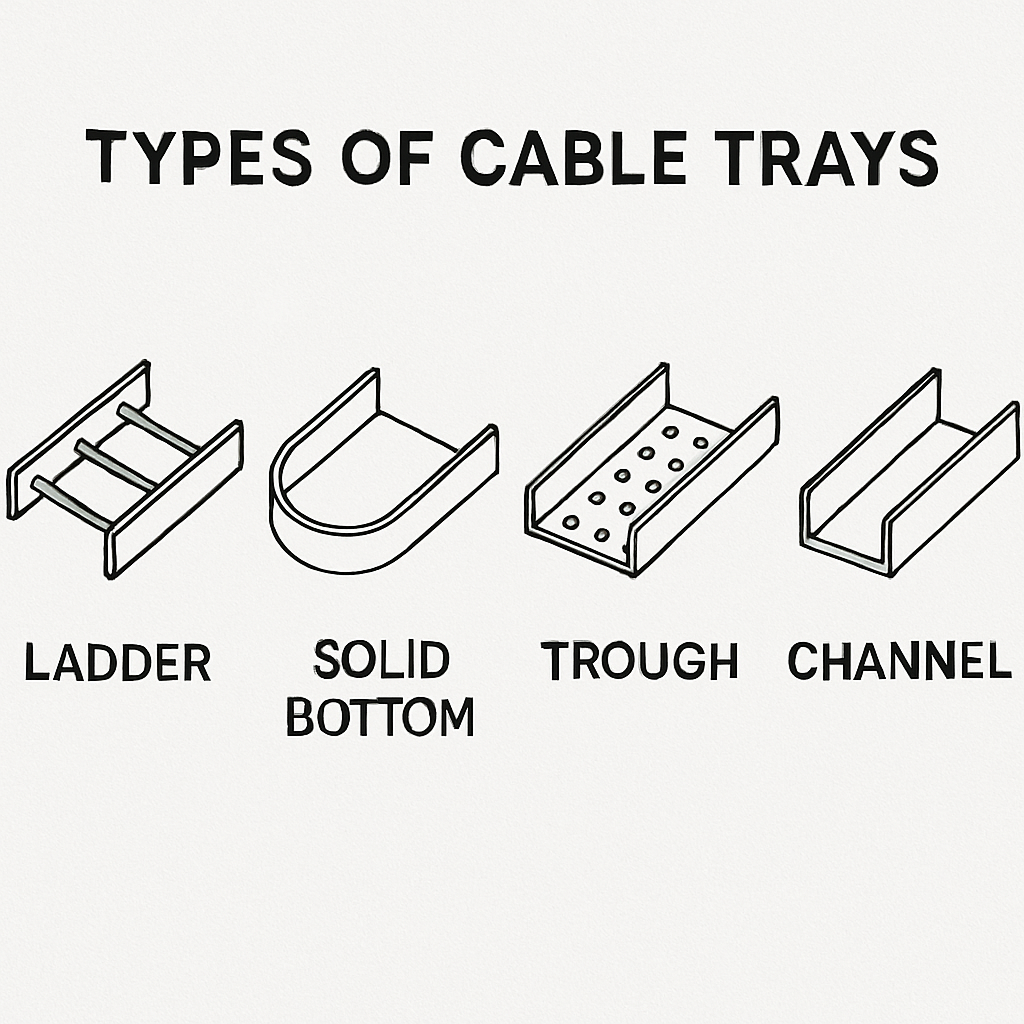
Cable trays are used to support insulated electrical cables used for power distribution and communication. These trays offer a safe, durable, and cost-effective solution for managing cables in commercial and industrial settings. The three main types of cable trays include:
- Perforated Cable Trays: Known for their versatility, these trays have slots or holes that provide ventilation and prevent overheating.
- Ladder Cable Trays: These feature a ladder-like structure and are ideal for heavy-duty cables, offering excellent support and ventilation.
- Wire Mesh Cable Trays: Often used for telecommunication and fiber optic cables, these trays are lightweight and adaptable to complex routing.
NEC Cable Tray Support Requirements
The National Electrical Code (NEC) lays out specific guidelines for the installation and support of cable trays. These standards ensure safety and reliability in electrical installations. Here are some critical NEC requirements to keep in mind:
NEC Cable Tray Support Spacing
The NEC requires that cable trays be supported at intervals specified by the manufacturer, but not exceeding 5 feet for horizontal runs. This ensures that the cable tray can adequately support the weight of the cables and any additional loads.
For ladder-type cable trays, the NEC specifies that the rungs must not be spaced more than 9 inches apart to provide sufficient support.
Cable Tray Support Distance
The distance between supports should be consistent to prevent sagging or bending of the trays. The NEC recommends a support distance of 4 to 6 feet, depending on the type of cable tray and the weight it carries.
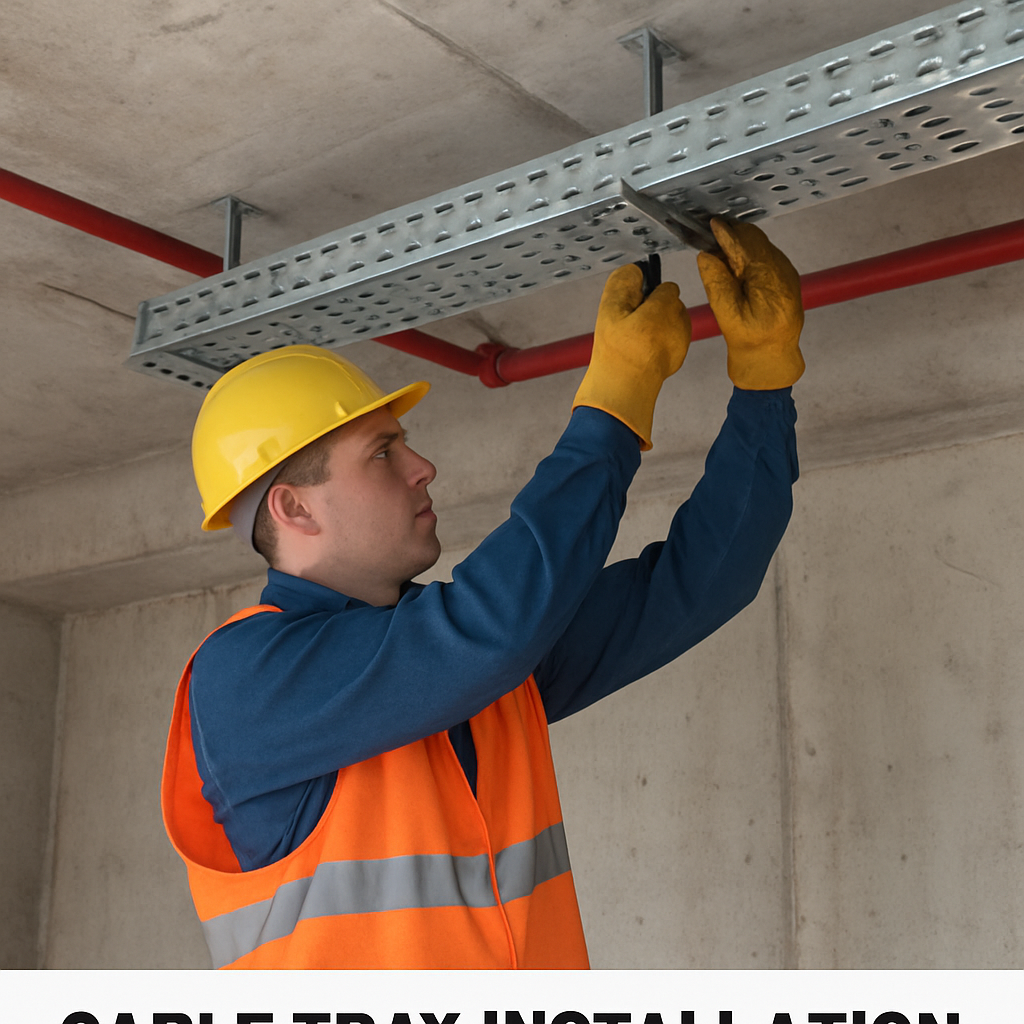
Cable Tray Support Installation
Proper installation of cable trays involves securing them to the building structure. Supports should be robust enough to bear the weight of the cables and any potential external forces, such as wind or seismic activity.
Installing supports at uniform distances and ensuring they are level prevents undue stress on the cables and the tray itself.
How to Install Perforated Cable Tray
Installing a perforated cable tray requires careful planning and execution. Here’s a step-by-step guide:
- Plan the Layout: Determine the route for the cable tray, considering the shortest path while avoiding obstructions.
- Select the Tray Type: Choose a perforated cable tray that meets the NEC specifications for your application.
- Install Supports: Securely install supports at the recommended spacing. Use appropriate hardware to attach the supports to the building structure.
- Mount the Tray: Place the perforated cable tray onto the supports and secure it with bolts or clamps.
- Route the Cables: Lay the cables inside the tray, ensuring they are evenly distributed to prevent overloading.
- Secure the Cables: Use cable ties or straps to secure the cables within the tray, maintaining a neat and organized setup.
Wire Mesh Cable Tray Specifications
Wire mesh cable trays are typically used for lightweight cables and offer flexibility in installation. Here are some key specifications to consider:
- Material: Wire mesh trays are often made from steel or aluminum, providing strength and corrosion resistance.
- Size: Select a tray size that accommodates the number and size of cables you plan to install.
- Support Spacing: Follow NEC guidelines for support spacing, generally not exceeding 4 feet.
- Bend Radius: Ensure the tray supports the minimum bend radius of the cables to prevent damage.
Ladder Cable Tray Installation
Ladder cable trays are ideal for heavy-duty applications. Here’s a brief overview of the installation process:
- Determine Tray Path: Plan the path of the tray, considering factors like load capacity and access for maintenance.
- Install Supports: Place supports at regular intervals, following NEC guidelines for spacing.
- Assemble the Tray: Connect sections of the ladder tray using splice plates and hardware.
- Secure the Tray: Attach the ladder tray to the supports, ensuring stability.
- Cable Installation: Lay the cables on the tray, distributing weight evenly.
- Cable Management: Use straps to secure cables, preventing movement and ensuring safety.
Compliance and Safety
Ensuring compliance with NEC standards is essential for the safety and efficiency of your cable tray installation. Regular inspections and maintenance can help identify potential issues before they become significant problems.
- Regular Inspections: Check for signs of wear, corrosion, or damage to the cable trays and supports.
- Maintenance: Tighten any loose bolts or clamps and replace damaged components promptly.
- Documentation: Keep records of installation details, maintenance activities, and any modifications for reference.
Conclusion
Proper cable tray support spacing and installation are vital for maintaining a safe and efficient electrical system. By following NEC guidelines and adhering to best practices, you can ensure that your cable trays provide reliable support for your cables. Whether you’re installing perforated, ladder, or wire mesh trays, understanding the specific requirements and specifications will help you achieve a successful installation.
Incorporate these guidelines into your planning and installation process to maximize the performance and safety of your cable tray system.