Channel box cable trays are an essential component in modern infrastructure, providing an efficient and organized way to manage cables in various settings. Whether you’re installing a new system or maintaining an existing one, understanding the proper installation and maintenance techniques for channel box cable trays is crucial. In this comprehensive guide, we’ll cover everything you need to know about channel box cable trays, from selecting the right tray for your needs to troubleshooting common issues.
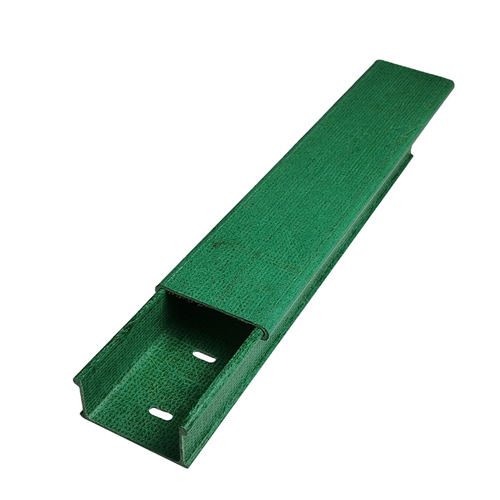
First, let’s start with the basics. A channel box cable tray is a metal framework that consists of channels or grooves designed to hold and organize cables. These trays come in various sizes and configurations, making them suitable for different applications, including data centers, telecommunications rooms, and industrial facilities.
When selecting a channel box cable tray, it’s important to consider factors such as the size and weight of the cables you’ll be managing, the amount of space available, and the level of organization required. You should also choose a tray that is compatible with your existing infrastructure and meets industry standards for safety and durability.
Once you have selected the appropriate channel box cable tray, it’s time to begin the installation process. The first step is to prepare the area where the tray will be installed. This may involve cleaning the surface, removing any debris or obstructions, and ensuring that the surface is level and stable.
Next, you’ll need to measure and cut the tray to fit the space available. It’s important to ensure that the tray is a snug fit to prevent movement or shifting during use. You can use a hacksaw or other cutting tool to trim the tray to the desired length.
After cutting the tray, you can install it by securing it to the surface using brackets or other fasteners. Make sure that the tray is level and secure before proceeding.
Now it’s time to install the cables in the tray. Start by organizing the cables into groups based on their function or destination. Then, simply place each group of cables in a separate channel within the tray. Be sure to leave enough space between each group of cables to allow for future expansion or adjustments.
To maintain your channel box cable tray, it’s important to regularly inspect it for signs of wear and tear or damage. Check for loose connections, bent or broken components, or any other issues that could compromise the safety or functionality of the tray. If you notice any problems, repair or replace the affected components immediately.
In addition to regular inspections, it’s also a good idea to clean your channel box cable tray periodically to remove any dirt, dust, or debris that may have accumulated over time. Use a soft-bristled brush or cloth to gently scrub the tray, being careful not to scratch or damage the surface.
Finally, if you ever need to move or relocate your channel box cable tray, be sure to handle it carefully to avoid damaging the cables or the tray itself. Disconnect all cables from the tray before moving it and use proper lifting techniques to avoid straining your back or causing injury.
In conclusion, channel box cable trays are an essential tool for managing cables in modern infrastructure. By following these installation and maintenance guidelines, you can ensure that your channel box cable tray remains safe, secure, and functional for years to come.
