In the ever-evolving world of construction and infrastructure, efficiency isn’t just about getting the job done but executing it with precision and expertise. One area where these qualities are crucial is cable tray installation. While many might overlook the significance of a well-installed cable tray system, its impact on the overall efficiency, safety, and sustainability of projects is undeniable. Navigating the complexities of installations not only requires technical know-how but also an understanding of how to anticipate and mitigate potential issues before they arise.
Imagine a world where tangled wires are a thing of the past, where maintenance becomes less of a chore, and where safety standards are not only met but exceeded. Mastering cable tray installation offers that promise. With the right insights, you can transform a seemingly mundane task into a showcase of expert craftsmanship. In this guide, we delve deep into the tried-and-true methods used by industry professionals to ensure each installation is both seamless and robust. Whether you’re a seasoned electrician or someone stepping into the field, the secrets to becoming a cable tray virtuoso await you.

Selecting the Right Cable Tray System for the Job
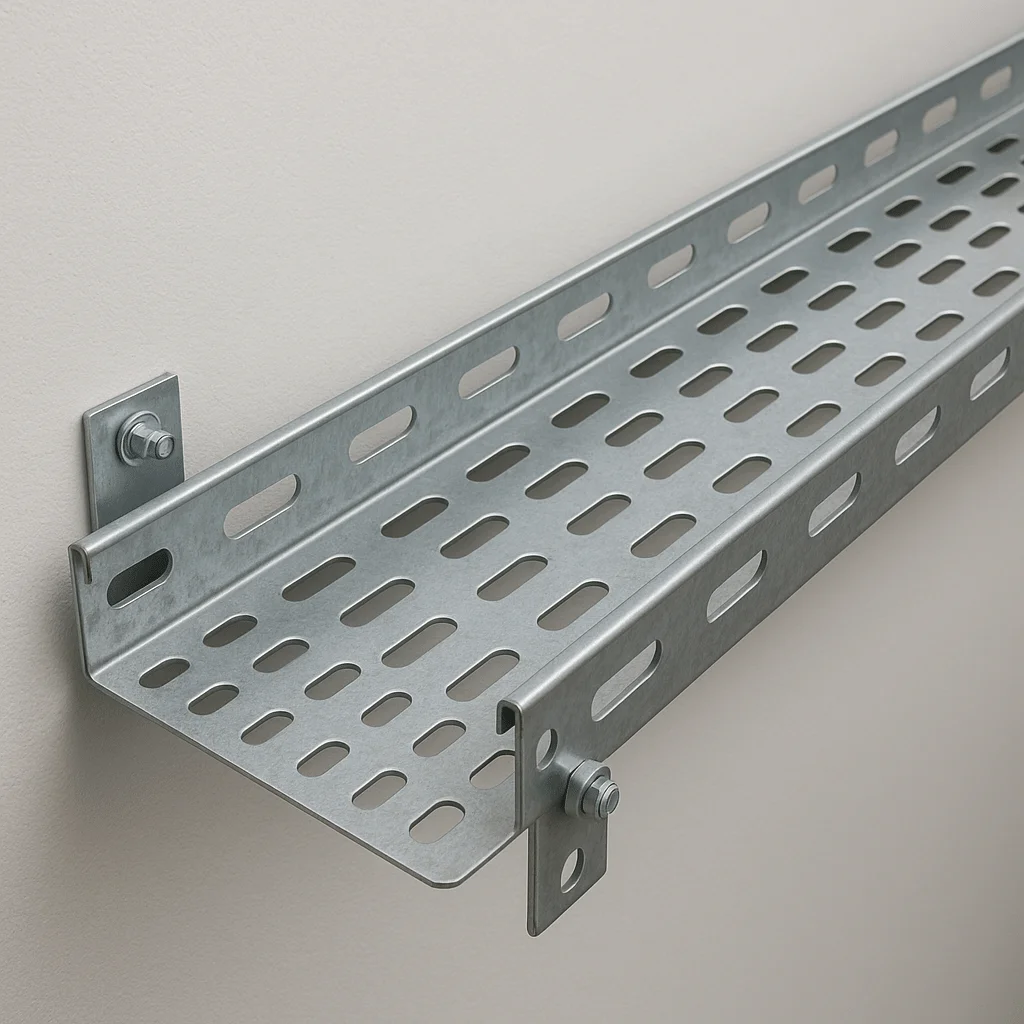
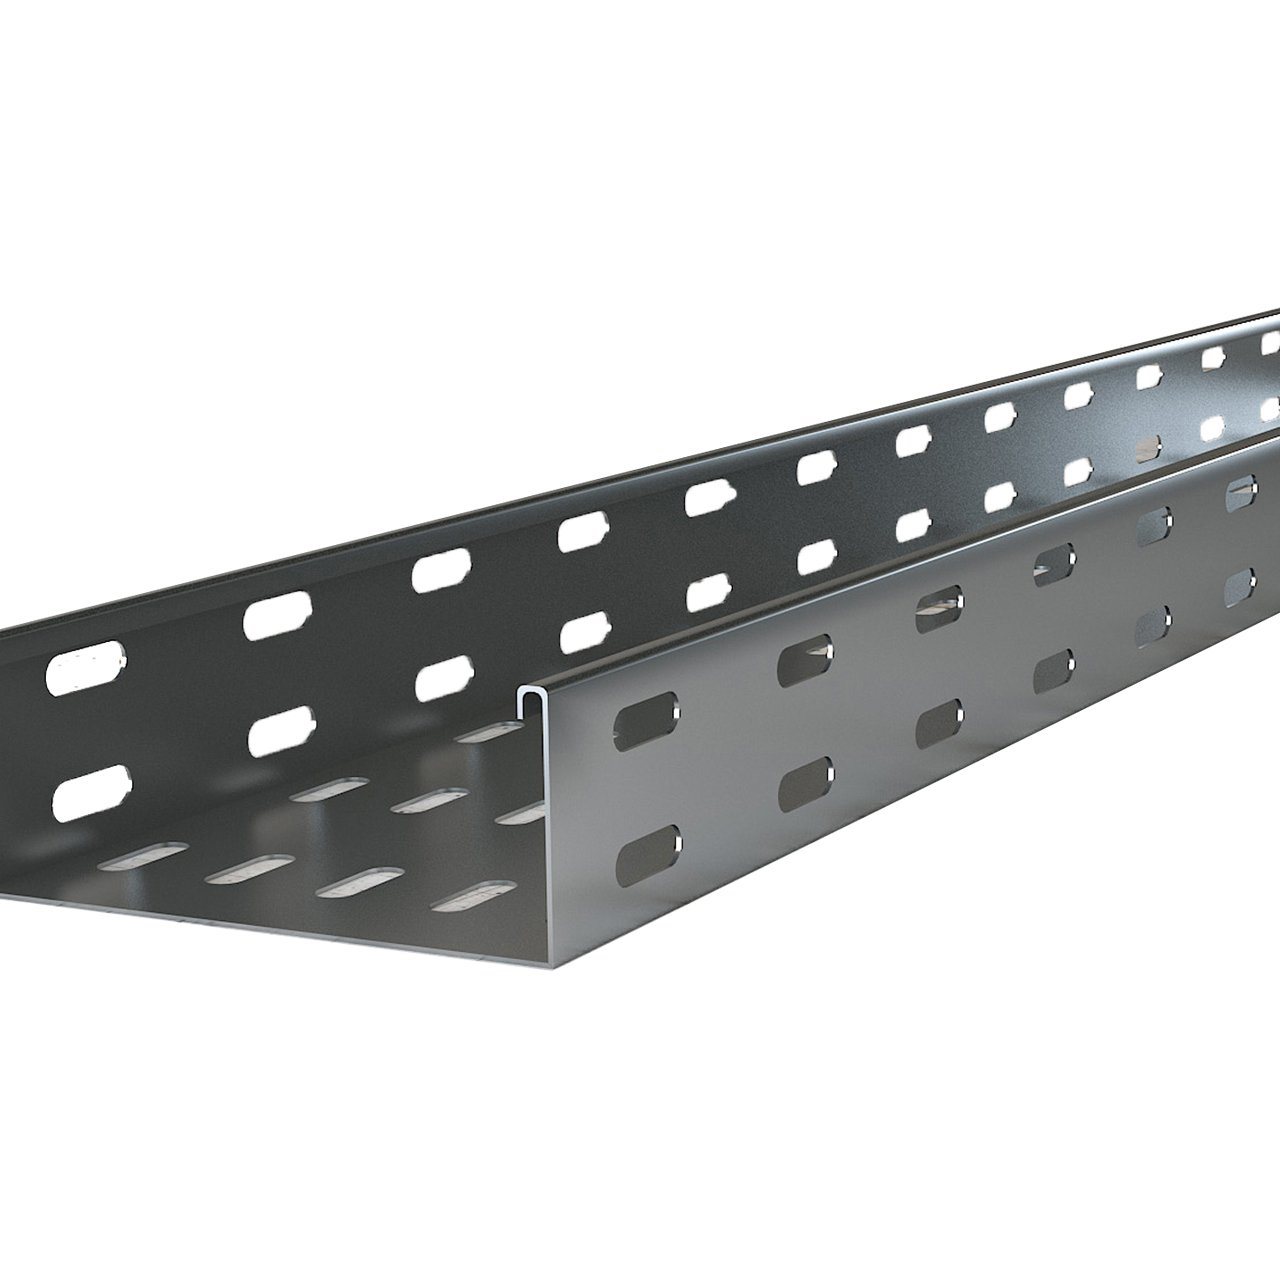
Choosing the ideal cable tray system begins with a thorough analysis of your project’s requirements. Start by identifying the type and volume of cables you’ll carry—power, data, or specialized control lines—and consider the environmental conditions, such as moisture, temperature extremes, or chemical exposure. Material selection is crucial: steel trays offer exceptional load capacity and rigidity, aluminum trays are lightweight and corrosion-resistant, while fiberglass‐reinforced plastic (FRP) excels in highly corrosive settings. Don’t overlook tray design variations—ladder, perforated, solid-bottom, or wire mesh—each delivers distinct benefits in strength, ventilation, and cable support.
Next, factor in installation constraints and future scalability. Space limitations, mounting surfaces, and support structures will influence tray sizing and configuration. Ladder‐style trays, for instance, facilitate superior airflow and heat dissipation for high‐current applications, whereas perforated trays prevent water pooling in outdoor or wash‐down environments. If expansion is likely, modular tray systems with easily attachable fittings and accessories can save time and labor down the road. By aligning technical specifications with practical site conditions, you ensure a robust foundation for flawless cable tray installation that meets both current demands and tomorrow’s growth.
Pre-Installation Preparation: Essential Steps to Success
Thorough pre-installation planning sets the stage for a smooth cable tray installation. Start with up-to-date project drawings and specifications, verifying cable counts, tray routes, and bracket locations. Perform a site survey to confirm clearances, note obstructions, and assess the condition of walls, ceilings, and structural supports. Acquiring all necessary permits and safety approvals early prevents last-minute delays and ensures regulatory compliance.
Next, organize materials and tools on-site to streamline workflow. Inspect each cable tray component—trays, splice plates, hangers, and fasteners—for damage and proper finish. Group hardware by tray section to minimize confusion during assembly. Prepare mounting surfaces by marking layout lines and locating anchor points, then verify that support structures meet load requirements. Clear workspace of debris and secure temporary barriers or signage to protect workers and maintain site cleanliness. Investing effort into these preparatory steps dramatically reduces installation errors, accelerates progress, and sets the installation team up for success.
Ensuring Compliance with Safety Standards Throughout the Installation Process
Maintaining strict adherence to safety codes and industry standards is non-negotiable during any cable tray installation. From personal protective equipment to fall protection measures, every precaution must be in place before work begins. OSHA regulations and the National Electrical Code (NEC) dictate minimum clearances, grounding requirements, and support spacing to prevent hazards and system failures.
Regularly review compliance checklists with your team, confirming that tray supports are correctly spaced, cable fill ratios are within acceptable limits, and expansion joints or seismic restraints are installed where required. Periodic inspections during installation catch deviations early, allowing prompt correction without compromising schedules. Documenting each safety inspection and maintaining a log of equipment tests ensures accountability and provides valuable records for future audits or maintenance planning.
Expert Tips for Cable Routing and Organization
Efficient cable routing begins with a clear topology plan that avoids sharp bends, reduces interference, and segregates power and data lines. When laying cables in trays, follow a left-to-right or right-to-left approach consistently to prevent crossovers and maintain a tidy appearance. Use color-coded cable ties or labeling systems to quickly identify cable groups, making troubleshooting and expansion easier.
Additional organizational strategies include installing divider kits to separate sensitive signal cables from high-voltage conductors and using turning vanes in curved sections to reduce stress on cable jackets. Maintain proper bend radii specified by manufacturers to preserve signal integrity, and periodically bundle cables in manageable lengths to avoid sagging. Incorporating these expert tips transforms a basic cable tray installation into a highly organized, low-maintenance system that stands the test of time.
Maintenance Strategies to Prolong the Lifespan of Your Cable Tray System
Regular maintenance is essential to ensure the longevity and reliability of your cable tray installation. Begin with visual inspections every six months, checking for signs of corrosion, loose fasteners, or deformed trays. Pay special attention to expansion joints, splice connections, and hanger assemblies—components that experience the most movement and stress over time. Promptly replace any damaged hardware or trays to prevent system-wide failures.
In addition to periodic checks, implement a cleaning schedule to remove dust, debris, and any accumulated moisture that can accelerate corrosion. If your installation is outdoors or in harsh environments, consider applying protective coatings or upgrading to corrosion-resistant materials during major overhauls. Document each maintenance activity, including dates, findings, and corrective actions. This record not only simplifies future service but also helps predict when replacement parts or tray sections will be needed, keeping your cable infrastructure robust and efficient for years to come.
Conclusion: Elevating Your Craft Through Masterful Cable Tray Installation
Mastering cable tray installation requires a balanced blend of planning, precision, and ongoing vigilance. From selecting the optimal tray system to implementing rigorous safety protocols and maintenance routines, each step contributes to a dependable infrastructure that supports both current needs and future growth.
By embracing these expert insights, you not only enhance project outcomes and safety but also establish yourself as a true professional in the field. Your commitment to best practices will pay dividends in reliability, efficiency, and client satisfaction for all your cable tray endeavors.