That tangled web of wires in your workshop isn’t just ugly—it could be a hidden fire hazard. When cables are bunched together, they can overheat, and excess heat with electricity is a risky combination. A cable tray offers a simple, professional solution you can use to organize wires and improve cable management.
Choosing the right size, however, isn’t just about fitting everything in. The most important goal is giving your cables enough breathing room to stay cool. An overstuffed tray traps heat, which can degrade cable performance and create safety issues. This is why effective bandeja de cables sizing is fundamentally about safety, not just neatness.
This guide breaks down bandeja de cables sizing into a simple, 3-step process for any DIY project. You’ll learn how to account for your cables, leave the right amount of space, and pick a tray that keeps your project safe and looking professional.

What is a Cable Tray and Why Bother?
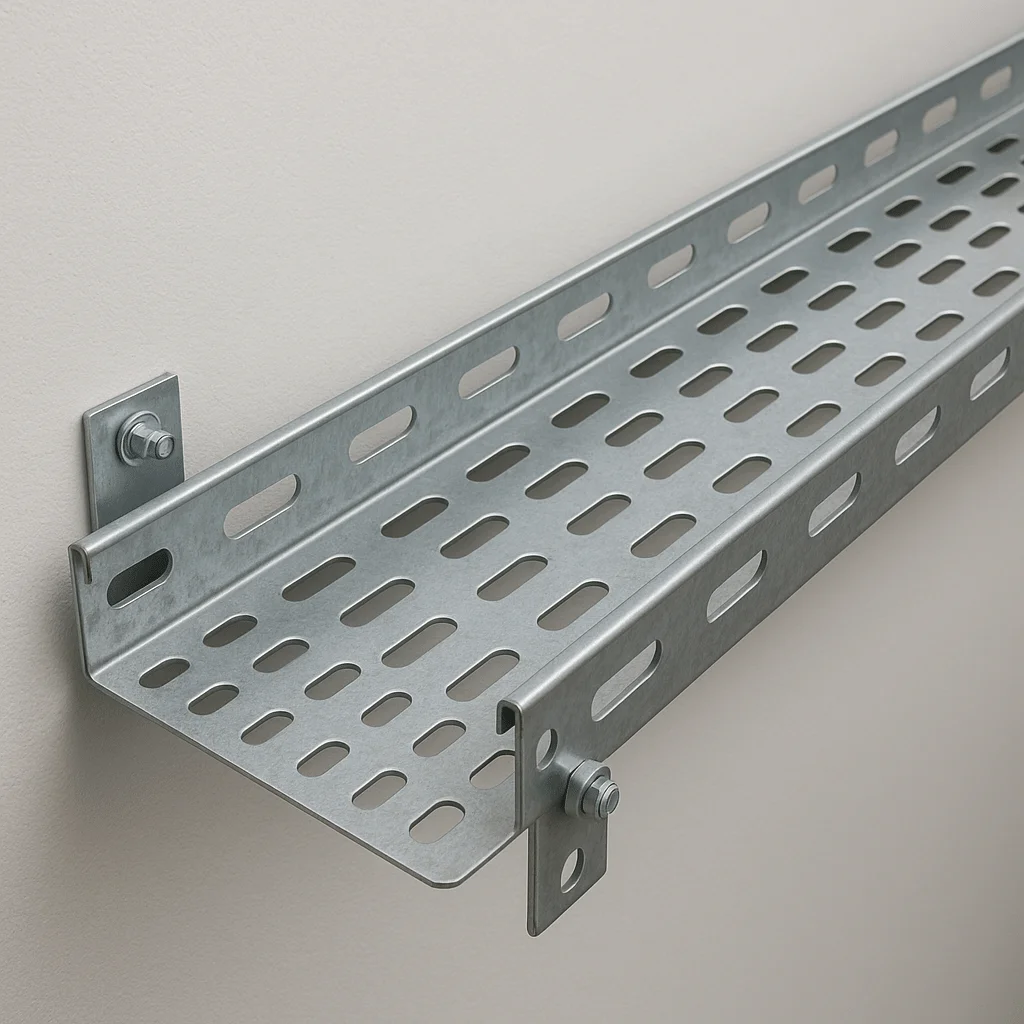
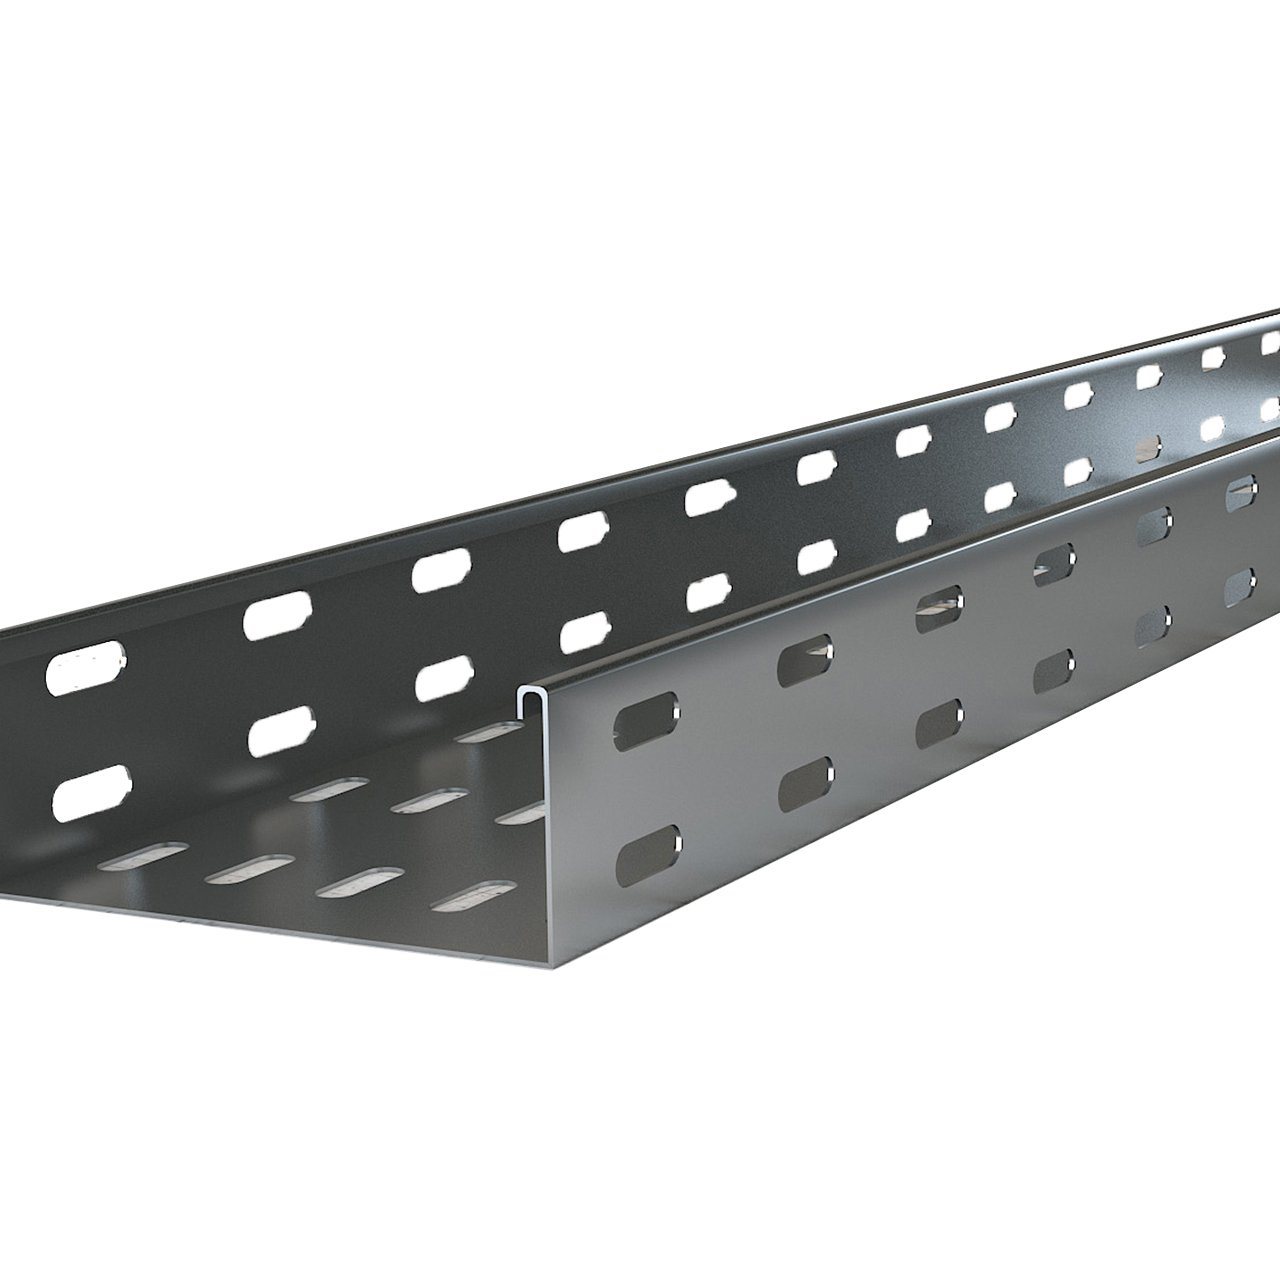
Think of a cable tray as a miniature highway system for your wires. It’s a sturdy, rigid structure—often a metal basket or ladder—that creates a dedicated path along a wall or ceiling. This system does more than just hold cables; it provides a clean, organized route that guides them safely from point A to point B.
You might be tempted to simply use zip ties or hooks, but a tray offers far superior cable support. Unlike a single hook which creates a sharp stress point, a tray cradles your cables along their entire length. This prevents the sagging and sharp bends that can damage the delicate wires inside over time, ensuring a more reliable connection.
Finally, a tray provides crucial cable protection. It acts as a physical barrier, guarding wires from getting snagged, accidentally crushed behind a shelf, or kinked into a tight corner. Giving your cables this supportive path is the first step, but the secret to a professional job lies in how you fill it.
The Golden Rule of Cable Trays: Why 100% Full is 100% Wrong
After choosing a cable tray, the temptation is to pack it neatly to the brim. The single most important rule for a professional installation is to fight that urge. Answering the common question of what is the 40% fill rule for cable trays, you should never fill a tray more than 40-50% of its total area. What looks like empty space is actually a critical safety feature.
Every cable carrying electricity generates a small amount of heat. When bundled together in a tight space, that heat gets trapped and builds up. As the graphic shows, giving your cables breathing room allows air to circulate and dissipate that heat safely. This is a core safety principle found in professional electrical codes to prevent overheating and potential hazards.
Leaving this space also saves you a future headache. When you inevitably need to add another cable, you’ll have plenty of room without starting over. The first step in any simple cable tray fill calculation is figuring out how much space your current cables need.

Step 1: Count and List Every Cable for Your Project
Before choosing a tray, you need to know exactly what’s going inside it. The first step is to create a simple cable inventory. Grab a notepad and list every single wire you plan to run. Be thorough—it’s easy to forget one!
Next to each cable type, estimate its thickness. A simple approximation like “pencil-thick” or a quick ruler measurement is perfect. Most importantly, think about the future. What new device might you add next year? Planning for growth now saves headaches later. Your list might look something like this:
- 10 Ethernet Cables (about 1/4″ thick)
- 3 Power Cords (about 1/2″ thick)
- 1 HDMI Cable (about 1/3″ thick)
- FUTURE: 2 more power cords
This simple plan is your blueprint. By accounting for current and future needs, you’re ensuring you only have to do this job once.
Step 2: Find Your Total Cable Area (The No-Math Way)
With your inventory in hand, the next task is to figure out how much space those cables will occupy. This is determined by their cross-sectional area—the “footprint” of each cable if you sliced it and looked at it end-on. Instead of complex geometry to perform a cross-sectional area calculation, you can use a simple lookup method.
The chart below lists common cable thicknesses and gives them a pre-calculated “Area Number” in square inches. Find your cable’s thickness on the chart and use its Area Number.
| Cable Thickness (Diameter) | Area Number (in²) | | :————————- | :—————- | | 1/4″ (0.25 in) | 0.05 | | 1/3″ (0.33 in) | 0.09 | | 1/2″ (0.50 in) | 0.20 | | 3/4″ (0.75 in) | 0.44 |
Let’s use the example from before: 10 Ethernet cables (1/4″ thick) and 3 power cords (1/2″ thick). According to the chart, a 1/4″ cable has an Area Number of 0.05, and a 1/2″ cable has one of 0.20. Your cable tray fill calculation is just simple addition: (10 x 0.05) + (3 x 0.20) = 0.50 + 0.60 = 1.10. Your Total Cable Area is 1.10 square inches.
This final number represents the minimum space your current cables need. Remember the golden rule: we never want to stuff a tray completely full. Now, we’ll use this total to find a tray size that gives your cables the room they need.
Step 3: Double It! How to Find Your Final Tray Size
Once you have the total area for your cables, the final step is the simplest and most important: just double that number. If your Total Cable Area was 1.10 square inches, your target tray size is 2.20 square inches (1.10 x 2). This “Double It” rule is a simple way to ensure a safe installation and a great alternative to a complex online cable tray size calculator.
Following this rule automatically solves two problems. First, it guarantees your cables have plenty of room, preventing heat buildup. This is why professionals aim to fill a tray no more than 50%. Second, it leaves valuable extra space for future cables, saving you a major headache down the road.
With your final number, you can easily determine cable tray depth and width. A tray’s area is its depth multiplied by its width. For our 2.20 sq. in. target, a tray that’s 2 inches deep and 2 inches wide (4 sq. in. total) would be a perfect, roomy fit.
Choosing Your Tray Type: Wire Mesh vs. Solid Bottom
With your target size calculated, you face one final choice: the tray style. For most projects, you’ll decide between a wire mesh tray (or “basket tray”) and a solid bottom tray. One looks like an open-air basket, while the other is a continuous, solid trough.
For most DIY jobs in a workshop or home office, the wire mesh tray is the go-to solution. Its biggest advantage is flexibility. You can easily cut the tray to length with bolt cutters and route cables in or out at any point. Just as importantly, the open design is fantastic for letting heat escape, reinforcing the “breathing room” rule.
Comparing a ladder tray vs solid bottom, the wire mesh or ladder style is better for heat dissipation. However, a solid bottom tray is useful when you want to completely hide cables for a cleaner look or protect them from falling dust. Both types are built to high industry safety standards, so for simple low-voltage or data wiring, either choice is safe. The decision often comes down to easy installation versus a more concealed appearance.

When to Stop and Call an Electrician
Properly sizing a cable tray involves applying key principles of electrical safety and heat management. While this guide is perfect for organizing data cables or existing cords in a workshop, knowing when to hire an electrician is critical. Always call a professional for:
- Running new high-power circuits (e.g., for an oven or EV charger)
- Working inside your main electrical panel
- Any project that feels beyond your skill level
Ultimately, smart cable management is about both safety and foresight. Making the right choice—whether selecting the correct tray size or calling an expert—is the mark of a successful and safe project.