Installing a cable tray system is a practical solution for organizing and protecting electrical and data cables in commercial, industrial, and residential settings. A well-installed cable tray system ensures that cables are easily accessible for maintenance and upgrades while keeping them secure and damage-free. Beyond mere organization, a cable tray system mitigates risks associated with tangled or exposed cables, which can lead to operational inefficiencies or safety hazards. This guide will walk you through the steps of installing a cable tray system with ease and efficiency, highlighting key considerations to ensure longevity and compliance with industry standards.
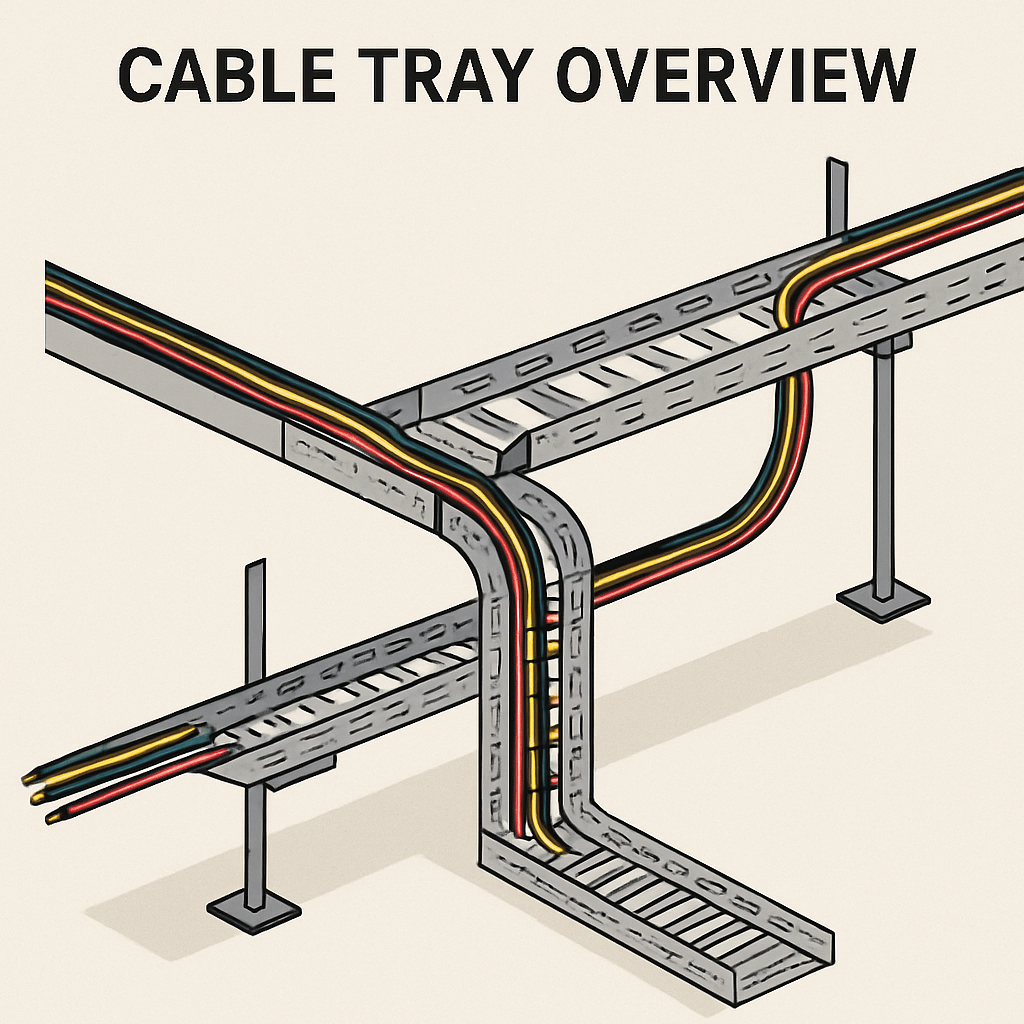
Before diving into the installation process, it’s essential to understand what a cable tray system is and why it is used. Cable trays are used to support insulated electrical cables used for power distribution, control, and communication. They are a more flexible and safer alternative to conduit systems, offering ease of maintenance and installation. Additionally, cable trays provide the flexibility to accommodate future expansions or modifications, making them a preferred choice for dynamic environments where technology and infrastructure needs may evolve.
Types of Cable Trays
- Ladder Cable Tray: Consists of two side rails connected by rungs. Ideal for heavier cables, this type of tray provides excellent ventilation and heat dissipation, making it suitable for environments with high power loads. Its open structure allows for easy cable entry and exit, facilitating quick installations and modifications.
- Perforated Cable Tray: A solid-bottom tray with holes for ventilation. Suitable for light to moderate-weight cables, perforated trays strike a balance between protection and airflow, preventing the buildup of heat and moisture. These trays are often used in environments where dust accumulation is a concern, as the perforations allow for debris to fall through, keeping the cables clean.
- Solid Bottom Cable Tray: Offers complete protection for cables against dust and debris. This type is particularly useful in environments where cables need to be shielded from external contaminants or electromagnetic interference. Solid bottom trays are often used in cleanroom settings or areas with stringent hygiene requirements.
- Channel Cable Tray: Used for installations with a limited number of cables. These trays are compact and ideal for small spaces or applications where only a few cables need routing. Their minimalist design makes them cost-effective and easy to install in tight spaces.
- Wire Mesh Cable Tray: Provides excellent ventilation and is used for telecommunication and fiber optic cables. The wire mesh design allows for high flexibility in cable routing and easy access for maintenance. These trays are lightweight and can be installed quickly, making them a popular choice for data centers and telecom facilities.
Preparing for Installation
Gather Required Tools and Materials
To install a cable tray system, you’ll need the following tools and materials:
- Measuring tape
- Cable trays and fittings
- Support brackets
- Drill and bits
- Level
- Bolts and nuts
- Safety gear (gloves, goggles)
Having the right tools and materials at your disposal is crucial for a smooth installation process. Ensure that all components are compatible with the type of cable tray you are using, and double-check that you have the correct sizes and quantities to avoid delays. Safety gear is non-negotiable as it protects you from potential injuries during installation, such as eye injuries from flying debris or cuts from sharp metal edges.
Plan the Layout
Planning is crucial for a successful installation. Determine the route the cable tray will follow, considering the location of power sources and equipment. Ensure the path is clear of obstacles and complies with local building codes and standards. A well-thought-out layout minimizes the risk of future cable congestion and simplifies maintenance tasks. It’s also wise to consider future expansions during the planning phase, leaving room for additional cables or equipment if needed.
Check Standards and Compliance
Familiarize yourself with the applicable standards, such as the National Electrical Code (NEC) and International Electrotechnical Commission (IEC), to ensure that your installation meets safety and quality requirements. Compliance is not just about meeting legal obligations; it ensures the safety of personnel and the reliability of the electrical system. Regularly updated standards reflect the latest industry best practices, so staying informed can help prevent costly mistakes or retrofits in the future.
Installation Steps
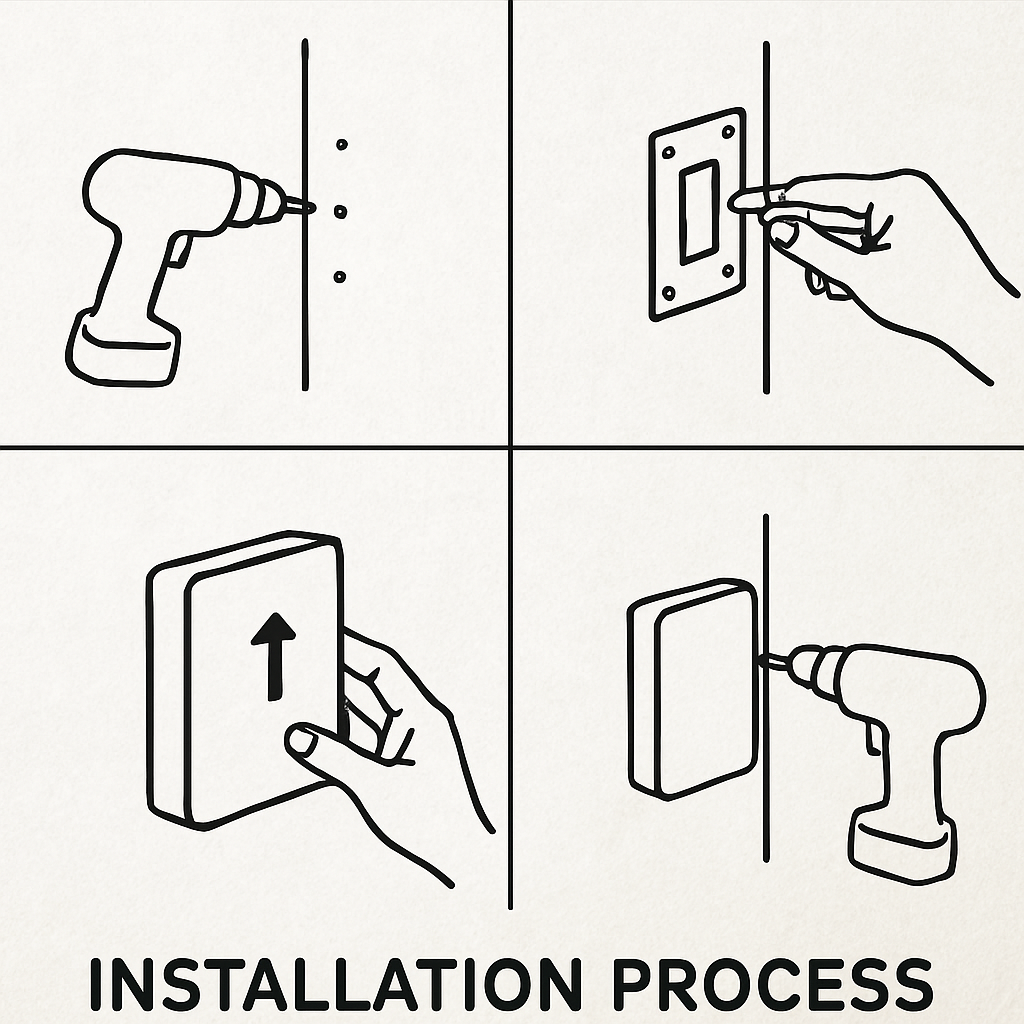
Step 1: Mark the Tray Path
Using a measuring tape and chalk, mark the path where the cable tray will be installed. Ensure the path is straight and aligns with the planned layout. Accurate marking is essential to avoid misalignments that could complicate installation or affect the integrity of the system. Double-check measurements against the plan to ensure precision, as errors at this stage can lead to significant issues later.
Step 2: Install Support Brackets
Install support brackets along the marked path. Brackets should be spaced according to the weight of the cables and the type of cable tray used. Typically, brackets are placed every 4 to 6 feet for optimal support. Proper spacing ensures that the tray can handle the weight of the cables without sagging or failing. It is also important to secure brackets firmly to the building structure to withstand environmental stresses such as vibrations or temperature changes.
Step 3: Assemble the Cable Tray
Assemble the cable tray sections on the ground before lifting them into place. Connect the sections using the appropriate fittings, ensuring all joints are secure. Pre-assembly on the ground is safer and allows for thorough inspection of connections before the tray is elevated. This step also provides an opportunity to adjust any misalignments or tighten loose fittings, ensuring a secure and stable installation.
Step 4: Mount the Cable Tray
Lift the assembled cable tray onto the support brackets. Secure the tray using bolts and nuts, ensuring it is level and stable. Double-check that all connections are tight and that the tray is aligned correctly. Ensuring the tray is level prevents strain on the cables and reduces the risk of damage over time. Tight connections are vital for maintaining the structural integrity of the system, especially in dynamic environments subject to movement or vibration.
Step 5: Install Vertical and Horizontal Bends
If the cable tray path includes changes in direction, install vertical and horizontal bends as needed. Use the appropriate fittings to connect bends to the straight sections of the tray. Properly installed bends allow for smooth cable transitions without kinking or stress, which is crucial for maintaining cable integrity. Consider future maintenance access when installing bends, as poorly placed sections can complicate cable inspections or modifications.
Step 6: Secure Cables in the Tray
Once the cable tray is installed, lay the cables inside the tray. Secure them using cable ties or clamps to prevent movement and ensure neatness. Organized cables reduce the risk of tangling and make future maintenance easier. Use non-conductive ties to avoid interference with electrical signals, and ensure that cables are not overly tight, which could damage insulation or restrict thermal expansion.
Step 7: Connect Conduits
If your setup requires connecting conduits to the cable tray, use conduit connectors to attach the conduits securely. This ensures a seamless transition from conduit to tray and maintains cable protection. Properly connected conduits safeguard against environmental elements and mechanical damage, enhancing the overall durability of the cable network. Ensure that the transition points are sealed appropriately to prevent ingress of dust or moisture.
Special Considerations
Ceiling and Wall Installations
For ceiling installations, use threaded rods or ceiling hangers to suspend the cable tray. Ensure that the ceiling structure can support the weight of the tray and cables. For wall installations, secure the tray using wall brackets.

Ceiling installations must account for building dynamics such as thermal expansion and contraction, which can affect suspended structures. Wall installations require careful consideration of wall integrity and load-bearing capacity to prevent structural damage. Both methods should ensure easy access for maintenance while keeping cables out of reach of unauthorized personnel.
Ground Installations
While cable trays are typically elevated, they can be installed on the ground if necessary. Ensure the ground is flat and stable, and use appropriate supports to keep the tray level. Ground installations should consider potential environmental impacts such as moisture or pest intrusion, which may necessitate additional protective measures. Regular inspections are crucial to ensure that ground-level trays remain free of debris and potential hazards.
Outdoor Installations
For outdoor installations, use weather-resistant materials and ensure proper drainage to prevent water accumulation in the tray. Outdoor systems face challenges from environmental conditions such as UV exposure, temperature fluctuations, and precipitation. Using corrosion-resistant materials and ensuring adequate airflow can extend the lifespan of the installation and reduce maintenance needs.
Frequently Asked Questions
Can Cable Tray be Installed in Dirt?
Cable trays should not be installed directly in dirt. If installation is necessary, use a protective cover or enclosure to prevent moisture and dirt from damaging the cables. Direct contact with dirt can lead to degradation of the tray material and compromise cable integrity, resulting in potential system failures. Protective measures ensure longevity and reliability of the cable system, especially in environments prone to moisture or shifting soil.
Can Tray Cable Be Run in Conduit?
Yes, tray cables can be run in conduit if additional protection is needed or required by code. Running cables in conduits offers enhanced protection from physical damage, electromagnetic interference, and environmental conditions. This method is particularly useful in high-risk areas or where cables may be subject to intense mechanical stresses, ensuring compliance with stringent safety and performance standards.
How Long Does It Take to Install a Cable Tray?
The installation time varies based on the complexity and length of the system. A straightforward installation can take a few hours, while more intricate systems may require several days. Factors such as site accessibility, number of cables, and environmental conditions can also impact the duration. Proper planning and preparation can significantly reduce installation time, minimizing disruptions to operations and ensuring a timely project completion.
Conclusion
Installing a cable tray system is a wise investment for organizing and protecting your cables. By following these steps and adhering to standards, you can ensure a safe and efficient installation. Whether you’re installing a system in a commercial building, industrial facility, or home, a well-planned and executed cable tray installation will serve your needs for years to come. Investing in quality materials and skilled installation not only enhances the safety and functionality of your electrical systems but also adds value to the property by ensuring compliance with modern standards and facilitating future technological advancements.